If you’re looking for a nourishing, no-fuss breakfast or snack, this Vegan Blueberry Chia Pudding Recipe is just the ticket. It’s bright, creamy, and naturally sweetened with juicy blueberries—perfect for mornings when you want something fresh but filling, or a make-ahead treat to grab on busy days.

Jump to:
In the Kitchen
I’m always drawn to this Vegan Blueberry Chia Pudding Recipe for its creamy texture and subtle fruity tang that makes every spoonful feel like a little indulgence yet totally wholesome.
- Juicy and Tender Every Time: Fresh or frozen blueberries burst with flavor, balancing the subtle nuttiness of chia wonderfully.
- Golden, Satisfying Finish: Chia seeds gel beautifully with plant-based milk, creating a luscious, pudding-like texture that’s naturally thick.
- Simple Ingredients, Big Impact: Few pantry staples come together to deliver nutrition, taste, and flair without any fuss or added sugar.
- Weeknight to Weekend Ready: Easy to prep ahead and keeps well, so you can enjoy a nourishing boost anytime without extra effort.
Ingredients at a Glance

Choosing quality ingredients really makes this Vegan Blueberry Chia Pudding Recipe shine. Freshness and natural flavor are key—you want your blueberries vibrant and your chia seeds fresh and nutty.
- Chia Seeds: Look for organic, whole chia seeds for the best gel texture and omega-3 boost.
- Plant-Based Milk: Unsweetened almond or oat milk work great for a creamy, subtle base without overpowering the berries.
- Blueberries: Use fresh when in season for zingy pop, or frozen anytime for convenience and natural sweetness.
- Natural Sweetener (optional): A touch of maple syrup or agave syrup complements the berries without being too sweet.
- Vanilla Extract: Adds warmth and depth; pure vanilla makes a noticeable difference.
Heads-Up: Exact measurements and nutrition info are waiting for you in the printable recipe card at the end!
How to Make Vegan Blueberry Chia Pudding Recipe
Step 1 — Combine the Chia Seeds and Milk
Start by pouring your plant-based milk into a medium bowl or jar, then stir in the chia seeds. Mix well so none of the seeds clump together—that’s key to achieving that perfectly creamy pudding texture. You’ll notice the mixture looks thin at first, but give it a few minutes to start thickening, then stir again. This little step helps avoid those pesky clumps that can dampen the experience.
Step 2 — Sweeten and Flavor the Base
Add in vanilla extract and your preferred natural sweetener. I love using a splash of maple syrup for its rich, earthy sweetness, but you can keep it plain if you want to savor the natural fruit flavors. Stir the mixture thoroughly to combine, then cover and refrigerate. The magic happens in the fridge—let it set for at least 3 hours, though overnight is best for that luscious, scoopable consistency you want.
Step 3 — Fold in the Blueberries
Once your pudding has thickened to a creamy delight, gently fold in the blueberries. If you like them slightly thawed and soft, frozen berries work beautifully right from the freezer; otherwise, fresh berries add a juicy burst with every bite. Swirling them in last helps keep their fresh flavor and prevents the pudding from getting too watery.
Step 4 — Serve and Enjoy
Serve your Vegan Blueberry Chia Pudding chilled, scooped into bowls or mason jars. If you’re prepping ahead, this pudding holds beautifully in the fridge for up to 4 days, so it’s a lifesaver for busy mornings or healthy afternoon snacks. Grab a spoon and enjoy that silky, subtly sweet delight anytime!
Things to Remember
From my kitchen to yours, here are the tips that make this Vegan Blueberry Chia Pudding Recipe a simple win every time.
- Doneness Cue: The mixture should be thick but scoopable, like a soft tapioca—no runny liquid around the edges.
- Temperature Trick: Always add chia seeds to cold or room temperature milk to avoid clumping; stirring after 10 minutes helps redistribute seeds.
- Make-Ahead Move: Prepare the pudding the night before—chia seeds need at least a few hours to hydrate fully.
- Common Pitfall: Don’t skip stirring soon after mixing—it’s the secret to smooth pudding without lumps.
Ways to Serve It

Finishing Touches
I love topping my Vegan Blueberry Chia Pudding Recipe with a handful of nuts or seeds for crunch—think toasted almonds or pumpkin seeds. A sprinkle of cinnamon or a zest of lemon brightens the flavors too, making each bite pop with complexity and warmth.
Plays Well With
This pudding pairs wonderfully with a fresh fruit salad or a slice of hearty toast. If you’re craving extra creaminess, a swirl of coconut yogurt or a spoonful of nut butter adds decadent richness without overpowering the blueberry vibe.
Simple Plating Upgrades
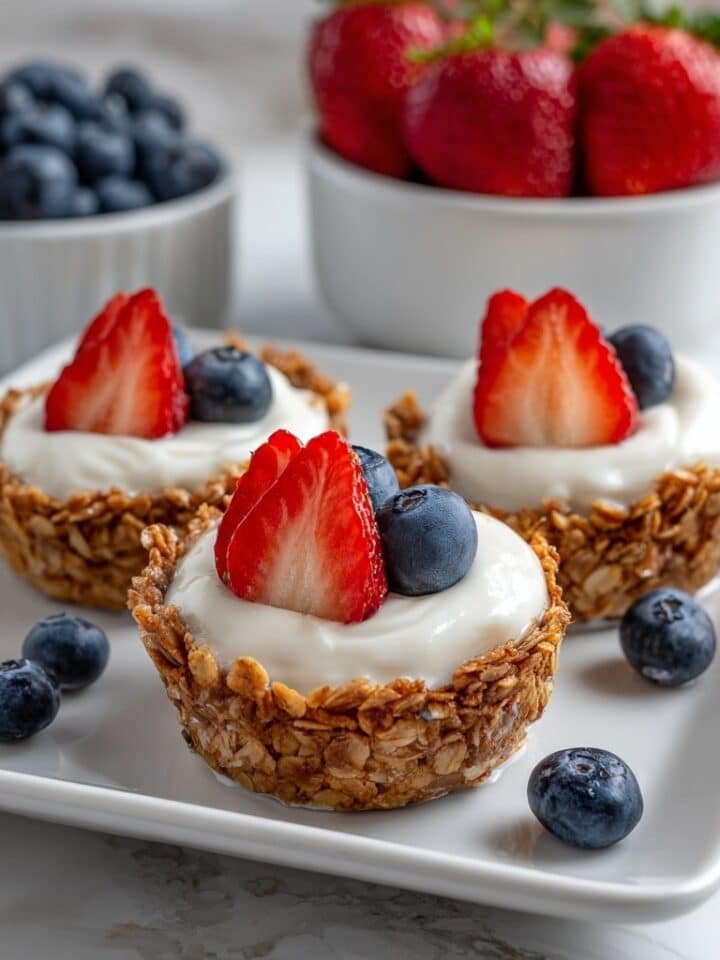
Try layering the chia pudding in a clear glass jar with alternating blueberries and granola for a parfait-style treat. It’s visually stunning and perfect for impressing breakfast guests without breaking a sweat.
Make-Ahead & Keeping Fresh
Storing Leftovers
Store your Vegan Blueberry Chia Pudding in an airtight container or mason jar in the fridge for up to four days. The texture will remain silky and indulgent, though the chia may continue to thicken slightly. You can add a splash of plant milk to loosen it back up if needed.
Freezing Tips
This pudding isn’t ideal for freezing since chia’s gel-like texture can become grainy after thawing. For best results, enjoy it fresh or refrigerated, and prep smaller batches as needed.
Reheating Vegan Blueberry Chia Pudding Recipe Without Drying Out
If you like your pudding warm, gently reheat it in the microwave on low power, stirring halfway through and adding a splash of plant milk to keep it creamy. Avoid high heat to prevent drying or clumping. Alternatively, warming it slowly in a small pot over low heat works beautifully.
Frequently Asked Questions
Absolutely! Raspberries, strawberries, or mango chunks work well, just adjust sweetness accordingly since fruits vary in tartness and sugar content.
While overnight soaking gives the best texture, letting the pudding sit for at least 3 hours can produce a nicely set pudding—just stir after 10 minutes to prevent clumps.
Definitely! Kids love the creamy texture and bursts of blueberry sweetness. Just introduce chia seeds gradually if you're new to them, as they’re high in fiber.
Yes! The blueberries add natural sweetness, so omit sweeteners if your preferred berries are ripe and juicy. You can also use mashed banana or a few drops of stevia if needed.
Final Thoughts
Making this Vegan Blueberry Chia Pudding Recipe has become a small ritual I cherish—simple ingredients coming together to create something both comforting and bright. I hope you enjoy it as much as I do, whether as a quick breakfast, a midday pick-me-up, or a sweet but healthy dessert. Give it a try, and feel free to tweak it until it feels just right for your taste buds. Happy spooning!
PrintFull Printable Recipe
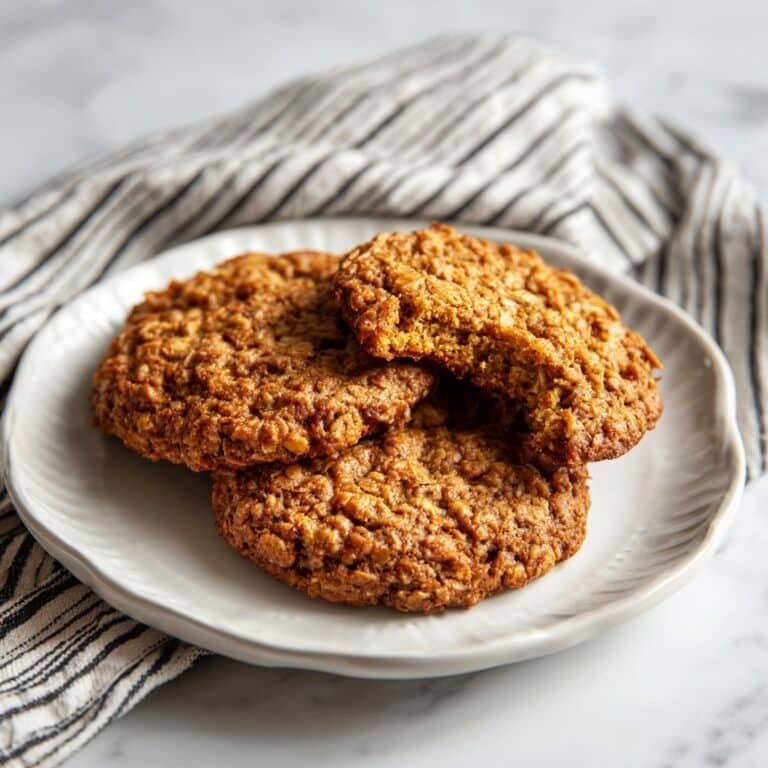
Vegan Blueberry Chia Pudding Recipe
Deliciously chewy and naturally sweetened sugar-free peanut butter oatmeal cookies made with wholesome ingredients, perfect for a healthy snack or dessert.
- Total Time: 22 minutes
- Yield: 12 cookies
Ingredients
Cookie Dough
- 1 cup rolled oats
- ½ cup unsweetened peanut butter
- ¼ cup unsweetened apple sauce
- ¼ cup pure maple syrup
- 1 teaspoon vanilla extract
- ¼ teaspoon salt
Instructions
- Preheat Oven: Preheat the oven to 350 degrees Fahrenheit and line a baking sheet with parchment paper to prevent sticking and ensure even baking.
- Mix Ingredients: In a large bowl, add rolled oats, unsweetened peanut butter, unsweetened apple sauce, pure maple syrup, vanilla extract, and salt. Stir everything together until well combined into a uniform dough.
- Form Cookies: Using gloved hands, scoop about two tablespoons of dough and roll it into a ball. Place the dough balls on the prepared baking sheet and use a spoon or fork to slightly flatten each cookie to your desired thickness.
- Bake Cookies: Transfer the baking sheet to the preheated oven and bake the cookies for 12 minutes until the edges turn golden and the cookies are set.
- Cool Cookies: Remove the baking sheet from the oven and let the cookies cool for a few minutes on the sheet before transferring them to a wire cooling rack to cool completely.
Notes
- Use parchment paper to avoid cookie sticking and ease cleanup.
- For a crunchier texture, bake cookies for up to 2 extra minutes but watch carefully to avoid burning.
- You can substitute pure maple syrup with honey for a slightly different sweetness profile.
- Ensure the peanut butter used is unsweetened and natural for best sugar-free results.
- Store cooled cookies in an airtight container at room temperature for up to 5 days.
- Prep Time: 10 minutes
- Cook Time: 12 minutes
- Category: Dessert
- Method: Baking
- Cuisine: American
- Diet: Gluten Free


Leave a Reply