If you’re craving a rich, invigorating treat that feels both indulgent and wholesome, you’re going to love this Ninja Creami Mocha Espresso Protein Ice Cream Recipe. It’s the perfect way to satisfy a sweet tooth while sneaking in some protein, especially when you want a fresh twist on dessert or a post-workout pick-me-up. I like making this on cozy weekends, but you’ll find it’s quick enough for those spontaneous ice cream cravings any time.

Jump to:
In the Kitchen
This Ninja Creami Mocha Espresso Protein Ice Cream Recipe blends the vibrant energy of espresso with decadent cocoa and the nutrition of protein powder, making a dessert that’s as smart as it is delicious.
- Juicy and Tender Every Time: The cold brew espresso keeps the ice cream smooth without icy bits, while the protein powder adds body and creaminess.
- Golden, Satisfying Finish: You’ll notice a lovely mocha richness that lingers – it’s like a café-quality ice cream at home.
- Simple Ingredients, Big Impact: With just a handful of pantry essentials and your Ninja Creami, it’s a no-fuss recipe that feels gourmet.
- Weeknight to Weekend Ready: Prep it ahead, freeze overnight, and enjoy dessert or snack time anytime you want a little protein boost.
Ingredients at a Glance

Choosing quality ingredients for your Ninja Creami Mocha Espresso Protein Ice Cream Recipe really elevates the flavor. I recommend going for a smooth, rich protein powder and freshly brewed strong espresso or cold brew for the best results.
- Chocolate Protein Powder: Pick one with a creamy texture and natural chocolate flavor – it’s the backbone of your dessert.
- Cocoa Powder: Use unsweetened, high-quality cocoa powder to add a deep chocolate punch without excess sweetness.
- Chilled Espresso or Strong Coffee: Freshly brewed and cooled for that bold mocha flavor and smooth texture.
- Milk of Choice: Dairy or non-dairy—pick your favorite to keep consistency creamy and rich.
- Optional Mix-ins: Mini chocolate chips or a swirl of nut butter provide extra texture and bursts of flavor.
Heads-Up: Exact measurements are in the printable recipe card at the bottom.
How to Make Ninja Creami Mocha Espresso Protein Ice Cream Recipe
Step 1 — Whisk Together Your Mocha Base
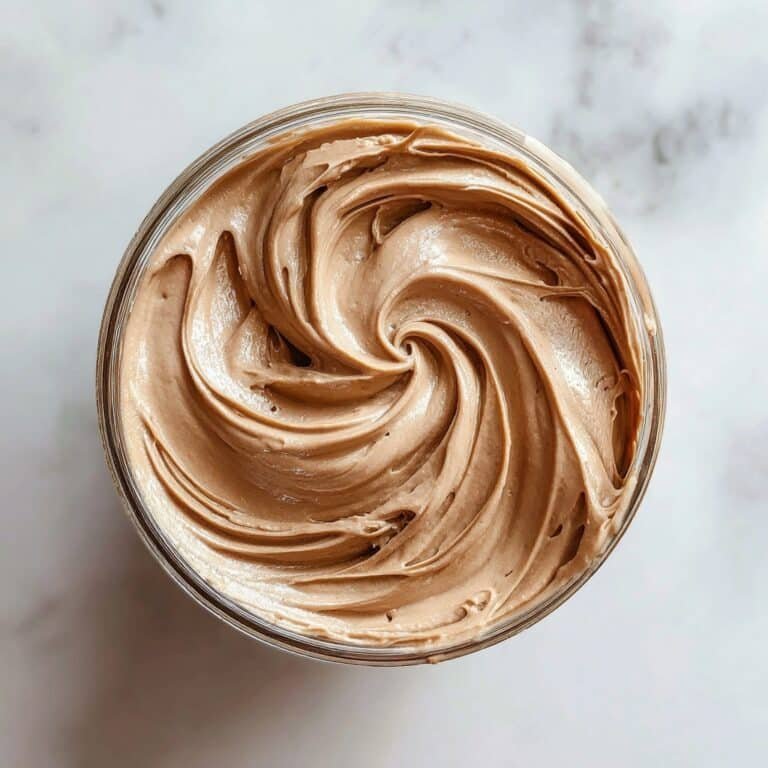
Start by adding your chocolate protein powder, cocoa powder, chilled espresso, and milk right into your Ninja Creami pint. I like to give this mixture a good whisk or use a blender for a few seconds to ensure it’s perfectly smooth with no lumps—this makes a big difference for that velvety final texture. You’ll notice the mixture’s aroma deepen as cocoa and coffee mingle, promising delicious results ahead.
Step 2 — Freeze Until Solid
Seal your pint and pop it in the freezer for at least 8 hours—overnight works best. This step is crucial to help the Ninja Creami machine transform your mix into smooth, creamy ice cream rather than icy chunks. When I first tried this recipe, I was tempted to shortcut this step, but trust me—patience here pays off beautifully.
Step 3 — Spin and Adjust Creaminess
Once frozen solid, place the pint in your Ninja Creami and select the ‘Lite Ice Cream’ or ‘Ice Cream’ setting. The machine will churn and aerate the mixture, crafting that signature creamy texture. If you find it a bit dry on the first spin, don’t worry! Just run it through the spinner again to get the softness just right. It’s a quick fix I often use to tailor the texture to my liking.
Step 4 — Add Mix-Ins and Enjoy
This is where the fun begins. If you want some delightful pops of texture, add mini chocolate chips or a swirl of your favorite nut butter into the pint and use the ‘mix-in’ feature on your Ninja Creami. This step transforms the ice cream into something extra special—each bite offers a little surprise, making it perfect for sharing or savoring solo. Then scoop it out, serve, and enjoy the cozy, mocha-rich treat you just crafted!
Things to Remember
I’ve found a few key points that help this Ninja Creami Mocha Espresso Protein Ice Cream Recipe turn out perfectly every time, from texture to flavor balance.
- Doneness Cue: The ice cream should be firm but creamy after the first spin; if it’s crumbly or too icy, give it another spin.
- Temperature Trick: Always use fully chilled espresso or cold brew to prevent melting or wateriness when freezing.
- Make-Ahead Move: Prepare the base a day ahead so the flavors meld well by the time it’s frozen and churned.
- Common Pitfall: Skipping the blend-whisk step can cause gritty texture—take the extra minute to smooth it out!
Ways to Serve It

Finishing Touches
A drizzle of dark chocolate syrup or a sprinkle of finely chopped toasted almonds can take your Ninja Creami Mocha Espresso Protein Ice Cream Recipe from delightful to unforgettable. I also enjoy a dusting of instant espresso powder on top to amplify that coffee aroma—makes each bite so aromatic and inviting.
Plays Well With
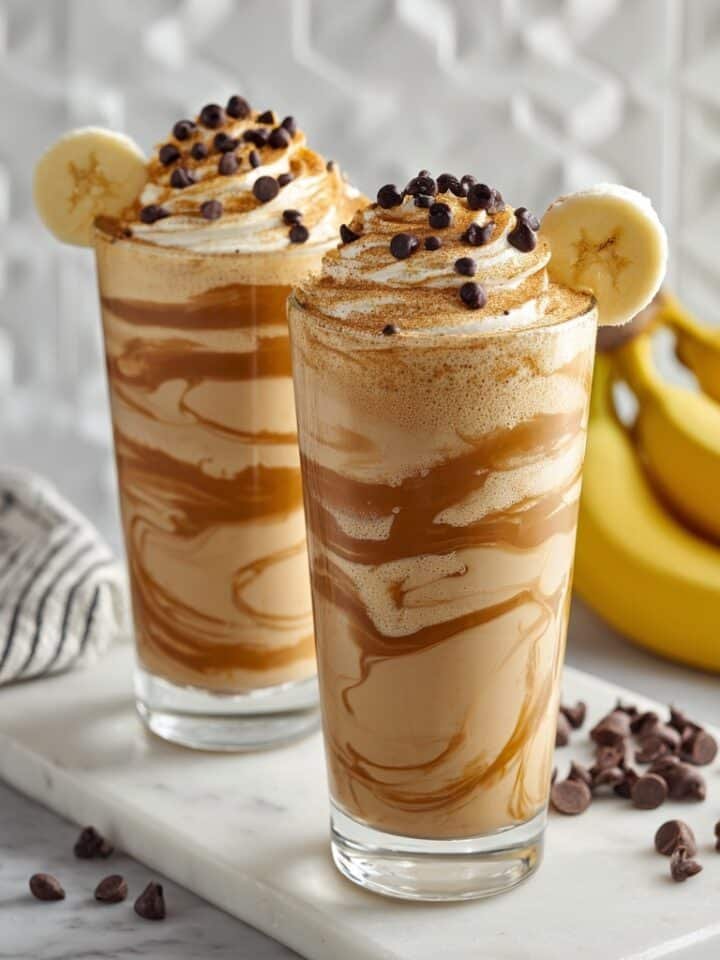
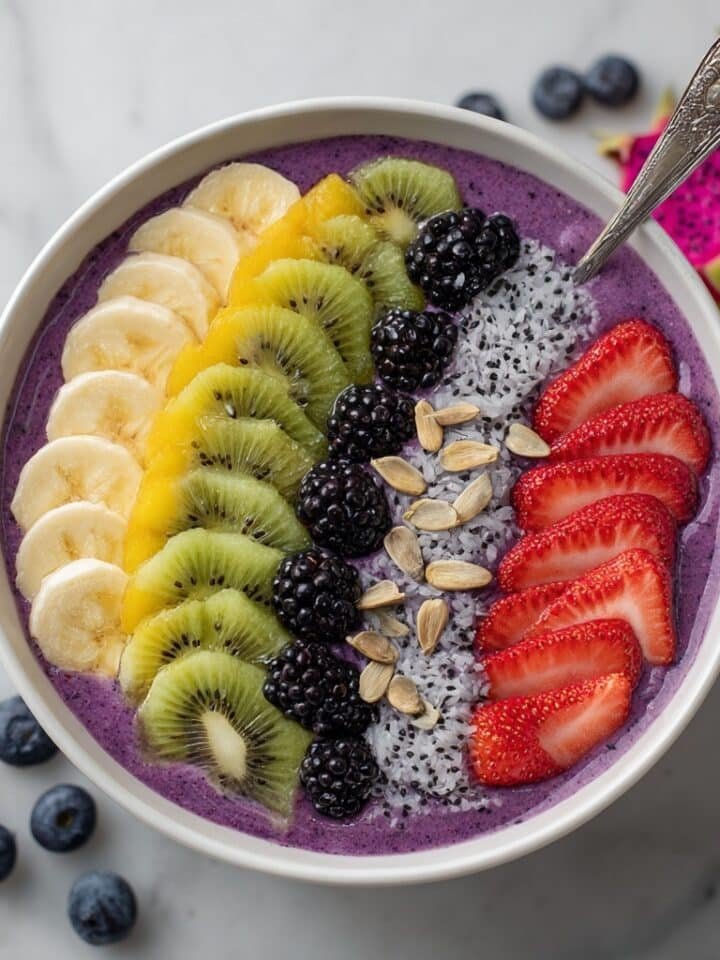
This ice cream pairs beautifully with fresh berries, a handful of crushed biscotti, or even alongside a warm slice of banana bread. The protein and espresso flavor balance sweetness, so it’s not too rich when teamed with crunchy or fruity elements.
Simple Plating Upgrades
For casual weeknights, I’ll keep it simple with a bowl and a few mini chips sprinkled on top. For special occasions, try serving scoops in clear glasses layered with whipped cream and a chocolate curl. A sprig of fresh mint adds a fresh pop of color and scent that feels fancy but effortless.
Make-Ahead & Keeping Fresh
Storing Leftovers
Keep your leftover Ninja Creami Mocha Espresso Protein Ice Cream Recipe in an airtight container, ideally one designed for ice cream storage. It’ll stay fresh for up to a week in the freezer without losing its luscious texture. I’ve found that containers with a tight-fitting lid really help prevent freezer burn and preserve flavor best.
Freezing Tips
This ice cream freezes well without getting too icy, thanks to the protein and milk fat. When you’re ready to eat leftovers, let it thaw for about 5–10 minutes at room temperature for easier scooping and to restore that smooth mouthfeel.
Reheating Ninja Creami Mocha Espresso Protein Ice Cream Recipe Without Drying Out
Since this is ice cream, reheating usually isn't necessary, but if you want a softer scoop, pop it for 10 seconds max in the microwave at 50% power to gently soften without melting or drying. Avoid ovens or air fryers—they’ll change texture and aren’t suited for ice cream.
Frequently Asked Questions
Yes! Instant coffee works as a substitute—just dissolve it in a small amount of hot water and cool before adding. It won’t be as rich as fresh espresso, but it still gives a nice mocha flavor.
I recommend chocolate-flavored whey or plant-based protein powders that mix smoothly and have a natural chocolate taste. Avoid powders with gritty textures to keep your ice cream silky.
Absolutely! Use a plant-based protein powder and non-dairy milk like almond or oat to keep it vegan and dairy-free. The Ninja Creami handles these substitutions wonderfully.
Freeze your mixture fully overnight, blend well to avoid lumps, and don’t hesitate to do a second spin if it feels dry. The ‘mix-in’ feature also helps incorporate mix-ins smoothly without breaking the texture.
Final Thoughts
This Ninja Creami Mocha Espresso Protein Ice Cream Recipe is a delightful balance of rich coffee flavor, satisfying chocolate notes, and nourishing protein all wrapped up in creamy indulgence. Whether you’re treating yourself after a workout, looking for a special dessert, or just want something to cool you down with a bit of a caffeine kick, this recipe is a winner. I hope you enjoy making it as much as I do—it’s become one of my favorite quick, homemade delights that feels special yet approachable. Have fun experimenting with your own mix-ins and serving ideas, and happy creaming!
PrintFull Printable Recipe
Ninja Creami Mocha Espresso Protein Ice Cream Recipe
This Ninja Creami Mocha Espresso Protein Ice Cream is a rich and creamy homemade treat combining chocolate protein, cocoa, and strong espresso for a delicious, protein-packed frozen dessert. Perfect for a post-workout snack or an indulgent yet nutritious dessert.
- Total Time: 8 hours 10 minutes
- Yield: 1 pint
Ingredients
Main Ingredients
- 1 scoop chocolate protein powder
- 1 spoonful cocoa powder
- ½ cup chilled espresso or strong coffee
- 1 cup milk of choice (dairy or non-dairy)
Optional Mix-ins
- Mini chocolate chips
- Nut butter
Instructions
- Prepare Mixture: Add the chocolate protein powder, cocoa powder, chilled espresso, and milk into a Ninja Creami pint. Whisk or blend thoroughly until the mixture is smooth and free of lumps.
- Freeze Mixture: Place the pint in the freezer and freeze overnight for at least 8 hours until the mixture is fully solid.
- Creamify Ice Cream: Remove the pint from the freezer and run it through the Ninja Creami using the 'Lite Ice Cream' or 'Ice Cream' setting to achieve a creamy texture.
- Adjust Texture: If the ice cream feels dry or crumbly, re-spin the pint again until it reaches your desired creamy consistency.
- Add Mix-ins: Incorporate optional mini chocolate chips or a spoonful of nut butter by using the ‘mix-in’ feature on the Ninja Creami.
- Serve: Scoop the finished mocha espresso protein ice cream into bowls or cones, then serve immediately and enjoy the rich flavor and creamy texture.
Notes
- For best results, use strong espresso or very concentrated coffee to enhance the mocha flavor.
- Choose your favorite milk, such as almond, oat, dairy, or soy, to fit dietary preferences.
- Ensure the mixture is fully blended for smooth texture and no powder lumps before freezing.
- Freeze for at least 8 hours to guarantee the mixture is solid enough for the Ninja Creami to process properly.
- Re-spin the ice cream if texture is too dry or crumbly to achieve creaminess.
- Try different mix-ins like chopped nuts or dark chocolate for added texture and flavor.
- Prep Time: 10 minutes
- Cook Time: 8 hours
- Category: Dessert
- Method: Blending
- Cuisine: American
- Diet: Low Lactose


Leave a Reply